When to Clean
Obstructions on the projector's light path often cause print issues. Check for smudges, dried resin, or other debris regularly.
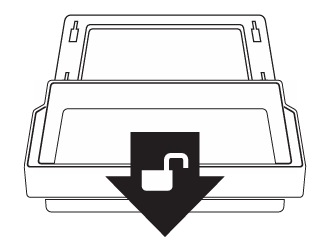
Remove the Resin Tank
To clean the tank, begin by removing the tank from its cradle in the printer. Gently pull toward you to unlock and then lift up to remove the resin tank.
Empty the Resin Tank
If there is any liquid resin left in the tank, pour it back into the original resin bottle through a mesh strainer to ensure no hardened chunks can contaminate your bottle.
We recommend a standard paint filter of 200 microns or greater, though a finer mesh can still work. Make sure to do this quickly as the resin will begin to harden as soon as it is exposed to UV light.
Remove Large Resin Chunks
If your tank has any partially-cured chunks of resin stuck to the bottom, peel them away gently.
Note: Take care not to use abrasive tools, as the bottom of the resin tank is extremely fragile.
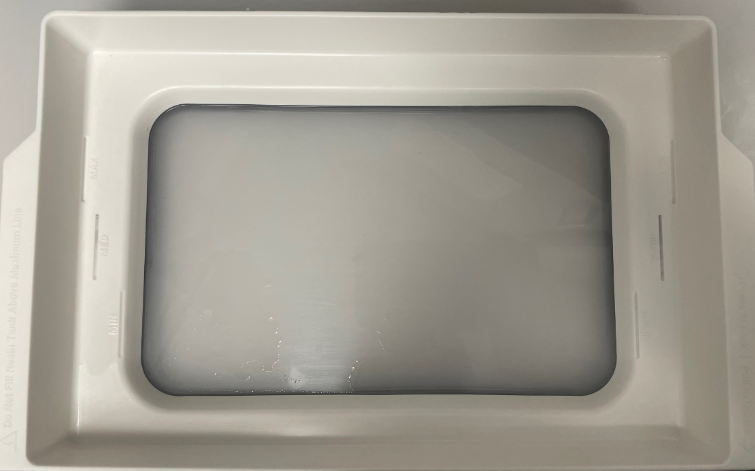
Gently Wipe Inside of Tank
Using IPA 91% or greater, moisten your soft shop towels and gently wipe the inside of the resin tank, being careful not to apply too much pressure to the edges of the plastic film. Do not pour IPA directly into the tank as this can damage it.
Note: We do not recommend cleaning out tanks and adding a new resin type. One tank per resin type is the best way to ensure successful prints.
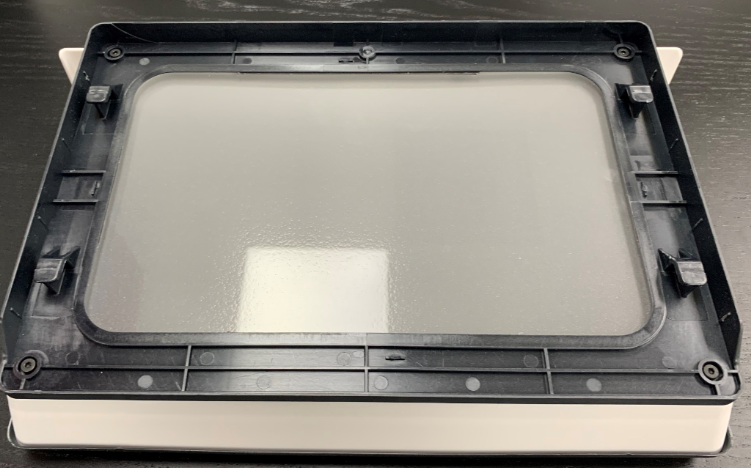
Clean the Underside Glass of the Tank
Flip your tank over, and wipe down the glass surface with Isopropyl Alcohol and a soft paper towel. Make sure you get all of the corners, and clean as thoroughly as possible.
Verify Cleanliness
Hold a bright light (such as a flashlight or smartphone flash) at a low angle and shine it across the surface to ensure you have cleaned all possible contaminants.